Wallets
Wallets are tools that manage accounts on blockchains like Tezos. Their primary purpose is to store an account's private key securely and encrypt (or "sign") transactions with that key without exposing the key. For more information on accounts, see Accounts.
Some wallets can do other tasks, including:
- Showing the token balances that an account holds, such as cryptocurrencies (DeFi tokens) and non-fungible tokens (NFTs)
- Providing information on the value of tokens
- Buying, selling, and exchanging tokens
- Showing the transaction history of an account
Tezos wallets
Many wallets are compatible with Tezos. They are available as standalone programs, as mobile applications, as web browser extensions, as online federated identity accounts, and as pieces of hardware. Which one you use depends on what platform you want to use your wallet on and what features you want.
These are some wallets that you can use with Tezos:
- Temple mobile application and browser extension
- Umami standalone application for Windows, MacOS, and Linux
- Kukai federated identity application, which uses accounts linked to other accounts such as email or social media accounts
- Trust mobile application and browser extension
- Ledger hardware wallets
The MetaMask wallet supports Tezos, but only its browser extension, and only on Mainnet. To set up MetaMask for Tezos, see Choosing a wallet.
For a full list of Tezos wallets, see https://tezos.com/learn/store-and-use. For more information about using wallets with Tezos, see Installing and funding a wallet.
Setting up a wallet
Each wallet application works differently, but in most cases setting up a wallet follows these general steps;
- You download and install the wallet application or browser extension.
- The wallet prompts you to set a password.
- The wallet generates a Tezos account.
- The wallet gives you a backup code, usually a series of words, which you can use to restore the account if there is a problem with the wallet or the hardware that runs it.
- The wallet shows the address of the new account. Most wallets can generate multiple accounts if you need more than one.
Now you can use the wallet to work with tokens and dApps.
Transferring tokens
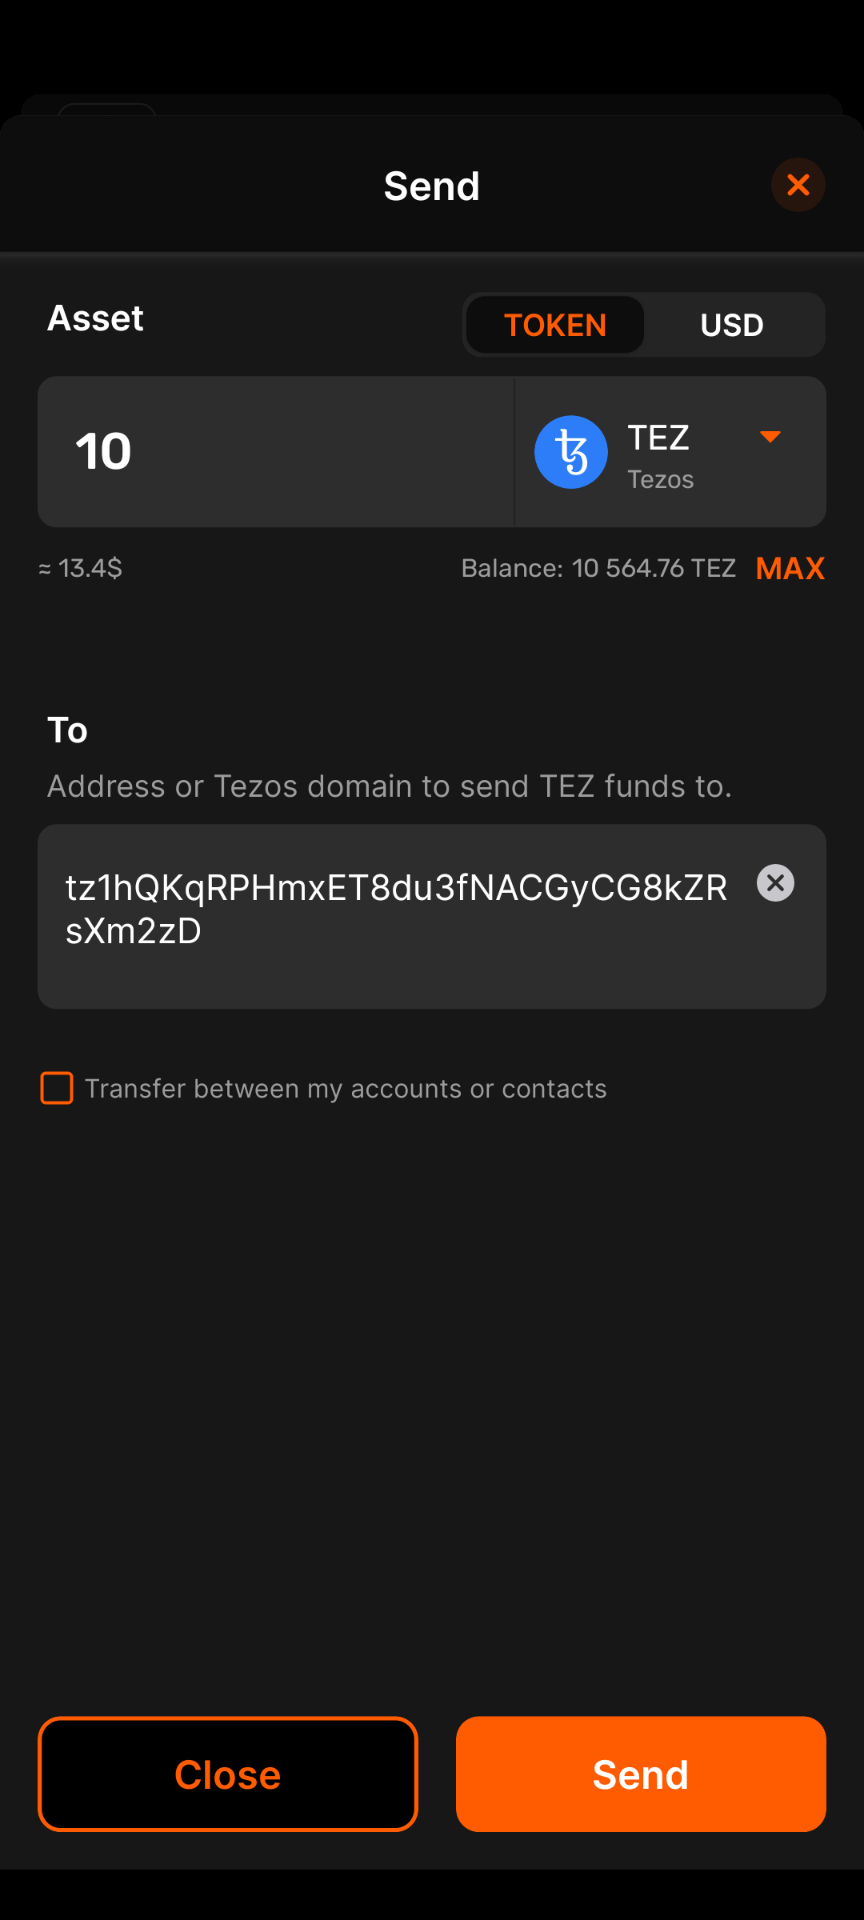
Most wallets allow you to transfer tokens directly in the wallet application. In most cases, all you need to do is click Send, select the token and amount to send, and enter the address of the target account.
For example, this is what a simple transfer of 10 tez looks like in the Temple wallet mobile application:

Connecting a wallet to an application
You can work within the wallet itself to see your tokens and account history. You can also use it to make transactions, including sending tokens to other accounts.
Another primary use of a wallet is to connect to and use decentralized applications (dApps). For example, block explorers show information about Tezos accounts, transactions, and smart contracts. Some can send transactions from your account, such as calling smart contracts.
As an example, the block explorer Better Call Dev has a wallet connection button at the top right of the page:
When you click this button and choose a Tezos network from the drop-down list, it opens a window and prompts you to select your wallet.
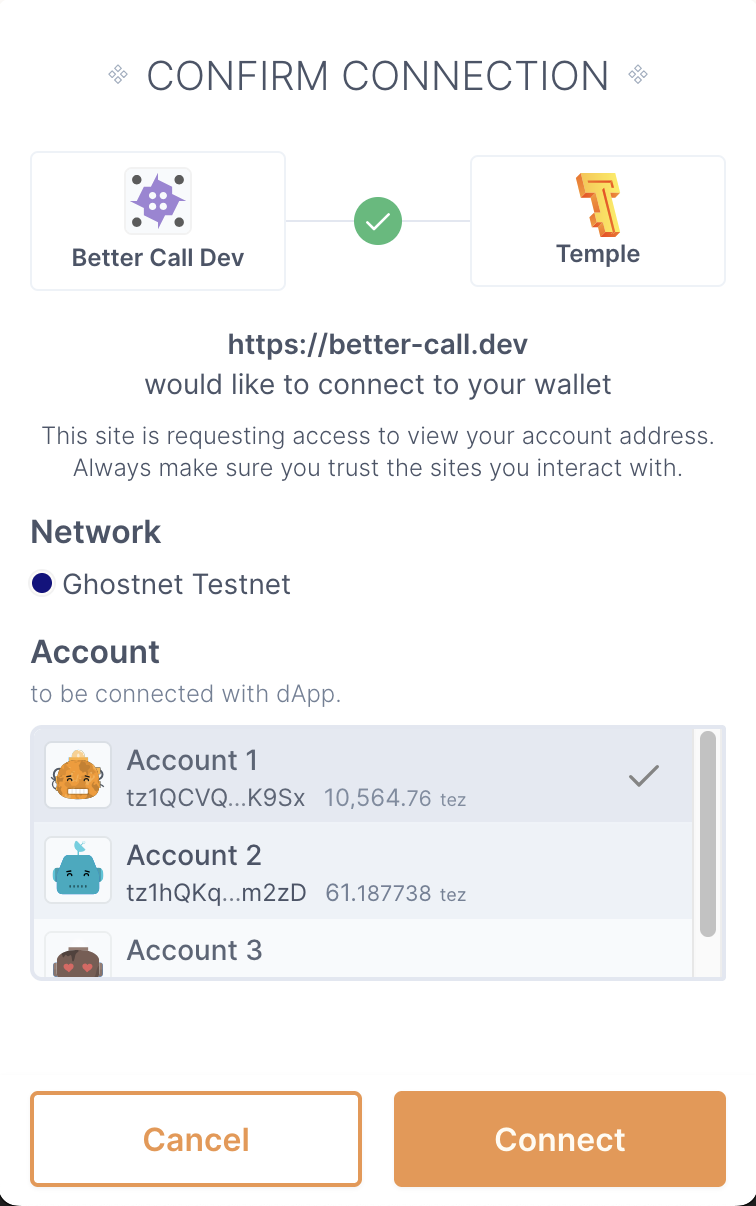
Then the dApp tries to connect to your wallet. The wallet application requests your permission to connect to the dApp and which account to use if you have multiple accounts in the wallet. For example, this is what the connection request looks like in the Temple wallet browser extension:

Now you are authenticated to the dApp by your account. The dApp can create transactions and send them to your wallet, which prompts you to approve the transaction. If you approve the transaction, the wallet signs it with your private key and submits it to Tezos.
For example, the smart contract on Tezos Ghostnet test network with the address KT1R2LTg3mQoLvHtUjo2xSi7RMBUJ1sJkDiD stores a number and allows users to increment or decrement that number.
You can see this contract on Better Call Dev here.
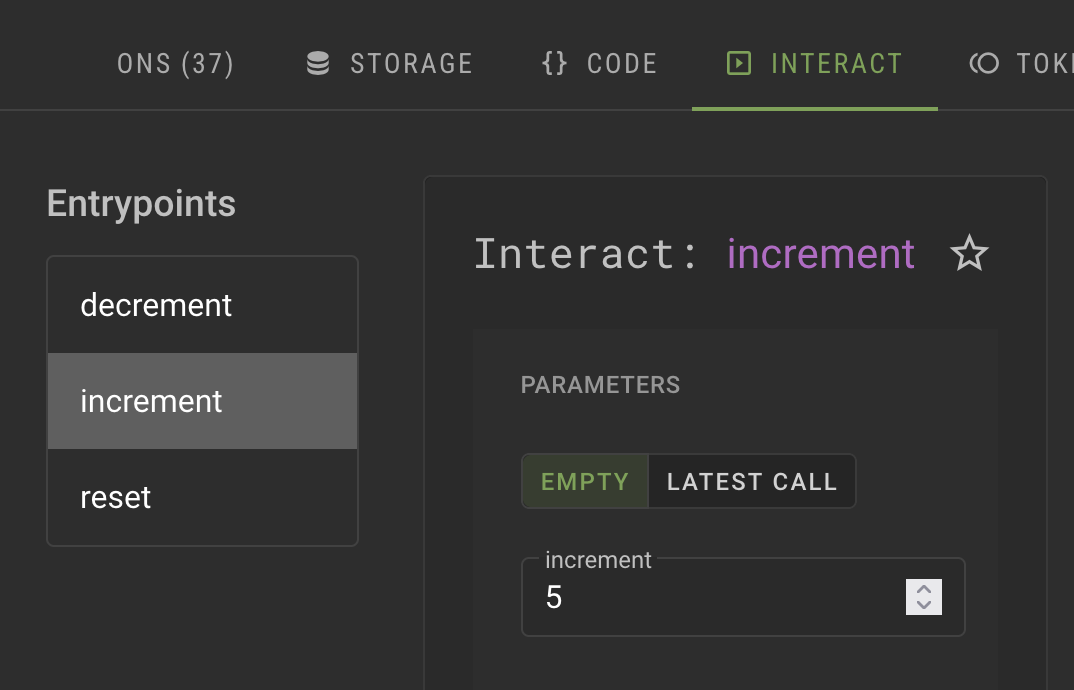
On the Interact tab you can select whether to increment or decrement the number or reset it to zero via its entrypoints, which are like commands that the smart contract understands.
For example, this screencap shows the increment entrypoint with the value 5:

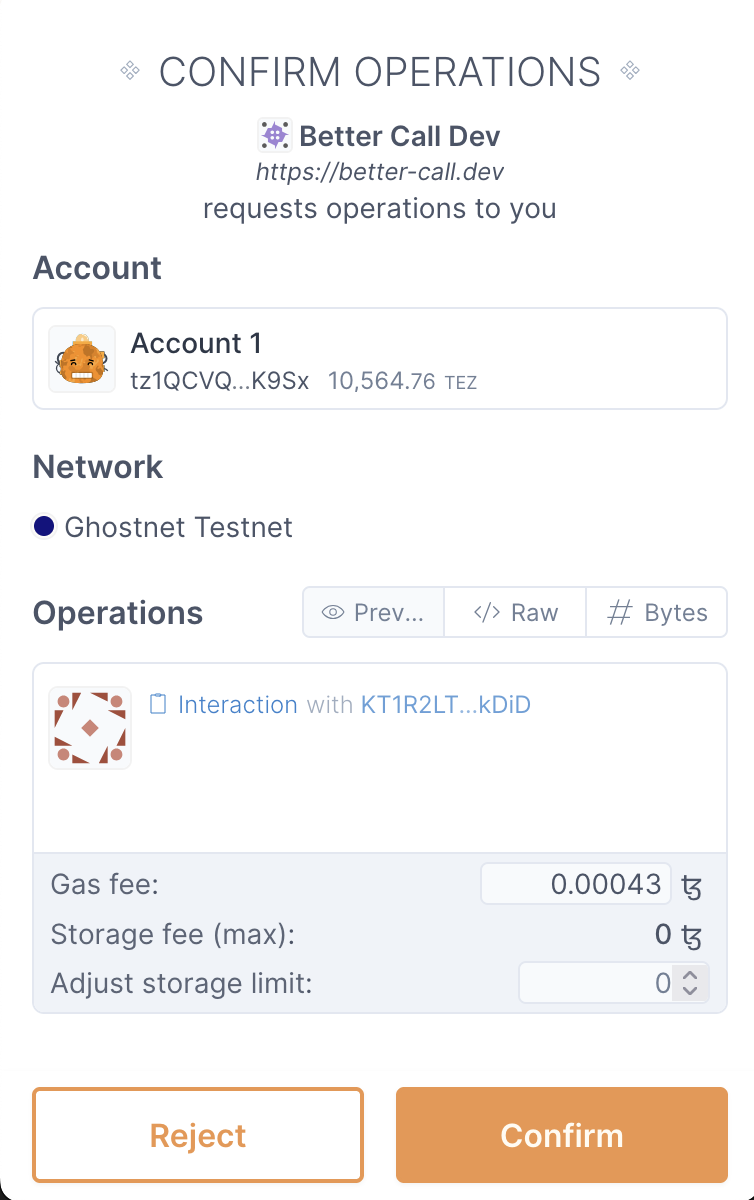
If you select an entrypoint, set the parameter, and click Execute > Wallet, the dApp sends the transaction to your wallet. The transaction shows the address of the contract, how many tez tokens to send to the address, and the transaction fees, as in this example from Temple wallet:

If you need funds for transaction fees on a test network, you can get them for free from the faucet, as described in Funding a wallet.
After you approve the transaction and wait a minute or two, you can see it in your wallet's history and on the block explorer.
Examine transactions thoroughly before approving them. Malicious dApps may send misleading transactions, and transactions cannot be reversed after you sign them.